
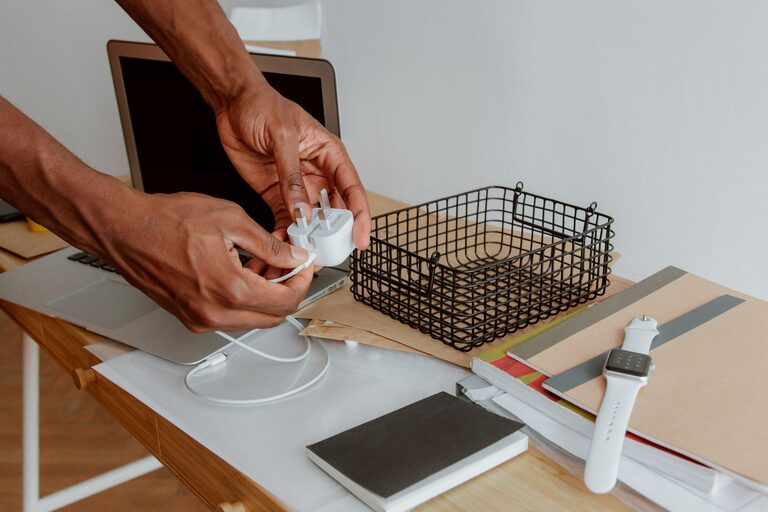
How to Organize Cables and Chargers Neatly
Loose cables can quickly turn a desk, drawer, or entertainment center into a tangled mess. When every charger looks similar, it is easy to grab the wrong one, forget where an important cable is stored, or leave cords scattered across the floor.
A simple cable organization system can make your space look better and save time. The key is to sort your cables, keep frequently used items within reach, and store everything else in a clear, labeled way.
Start With a Cable Cleanout
Before buying organizers, gather all your cables and chargers in one place. Check your desk drawers, bags, closets, bedside tables, and storage bins. You may find that you have several cables serving the same purpose.
Place everything on a table or other open surface. This gives you a clear view of what you own and helps prevent duplicate purchases.
Create four groups:
– Frequently used cables
– Occasionally used cables
– Backup or spare cables
– Damaged, outdated, or unidentified cables
Test cables that you plan to keep. Look for frayed insulation, bent connectors, loose plugs, or signs of overheating. Damaged cables should not be used. If you cannot identify a cable or remember what device it belongs to, set it aside until you can confirm its purpose.
Sort Cables by Use
Sorting cables by function makes them easier to find later. You can organize them by device, connector type, or location, depending on what works best for your routine.
Useful categories may include:
– Phone and tablet chargers
– Laptop chargers
– Computer accessories
– Audio and video cables
– Camera and travel cables
– Power cords
– Specialty or occasional-use cables
If you have several similar cables, sort them by connector type. For example, you might create separate groups for USB C, Lightning, micro USB, HDMI, and Ethernet cables.
Avoid relying only on color or appearance. Many cables look alike, especially charging cables. A small label can save time when you need a specific one.
Label Both Ends
Labels are one of the easiest ways to improve cable organization. Labeling only one end may not be enough when a cable is connected behind a desk or entertainment center.
Use small adhesive labels, colored tape, reusable cable tags, or a label maker. Write short descriptions such as:
– Phone charger
– Laptop power
– Monitor
– Printer
– Travel cable
– Spare USB C
For cables that stay connected to a device, label the device end and the power-strip end. This makes it easier to identify and unplug the correct cord without tracing every cable by hand.
You can also use a color system. For example, blue tags could represent computer accessories, green tags could represent mobile devices, and yellow tags could represent entertainment equipment. Choose a system that is simple enough to remember.
Use the Right Cable Management Tools
Different cable organizers work best in different areas. You do not need every type of product. Start with a few basic tools that match your setup.
Cable ties
Reusable hook-and-loop ties are useful for bundling cables without damaging them. They are adjustable and easy to remove when you need to add or replace a cable.
Avoid tying cables too tightly. Tight bends can put stress on the wire and connector. Make loose, gentle loops instead of sharp folds.
Cable clips
Adhesive cable clips keep frequently used cords in place on a desk or nightstand. They prevent charging cables from sliding behind furniture when disconnected.
Place clips near the edge of your desk or beside your bed. Keep them positioned so the cable reaches your device without stretching.
Cable sleeves
Cable sleeves gather several cords into one neat bundle. They work well behind computers, televisions, and desks where multiple cables run in the same direction.
Choose a sleeve that can be opened easily if you expect to add or remove cables. Do not use a sleeve to hide damaged cables or pack cords so tightly that they cannot breathe.
Cable boxes
A cable management box can hide excess cord length and power strips. It is especially useful in a home office or living room.
Before placing a power strip inside a box, make sure the product is designed for that purpose and that ventilation is not blocked. Keep the area dry and avoid overcrowding the box.
Create a Charging Station
A dedicated charging station prevents chargers from spreading across your home. Choose one location for phones, tablets, watches, earbuds, or other everyday devices.
A charging station can be as simple as:
– A small tray with labeled charging cables
– A desktop organizer with cable openings
– A shelf near an outlet
– A charging stand with separate spaces
– A drawer with cable clips
Keep only the chargers used regularly at the station. Store backup cables elsewhere so the area remains uncluttered.
If several people use the same space, label each cable or assign a specific section to each person. This reduces confusion and prevents chargers from being moved to different rooms.
Keep Desk Cables Under Control
A desk often collects the most visible cables. Start by deciding which devices must remain connected. Common examples include a monitor, keyboard, mouse, speakers, and computer.
Route cables toward the back of the desk and secure them underneath with clips or a cable tray. Leave enough slack for cleaning and for moving devices. Use a single bundle for cables traveling in the same direction, but keep power cables separate from delicate connection cables when practical.
Place your power strip in an accessible location. It should not be buried behind furniture where it is difficult to reach. If your desk has adjustable parts, check that cables have enough length to move safely without pulling.
Organize a Cable Drawer or Storage Box
For cables you do not use every day, choose one drawer, basket, or storage box. Store each category in its own pouch or section rather than placing everything in one pile.
Small zippered bags, pencil cases, or fabric pouches can hold groups of cables. You can label them with descriptions such as “travel,” “computer,” or “audio.”
Coil each cable loosely and secure it with a reusable tie. Do not wrap cables tightly around chargers or fold them sharply near the connector. Place heavier adapters at the bottom and lighter cables on top to prevent unnecessary pressure.
Leave some space in the container. An overfilled box quickly becomes difficult to use and encourages more clutter.
Manage Cables While Traveling
Travel cables are easier to manage when they have their own kit. Keep a small pouch stocked with the chargers and adapters you use most often.
A travel kit may include:
– One main charging cable
– A compact power adapter
– A backup cable
– A multiport adapter, if needed
– A short extension cord
– Cable ties
Before leaving, check that the cables match your devices. After returning, put the travel kit back in its storage location instead of allowing the contents to spread around the house.
Short cables can be especially useful for travel because they take up less space and are less likely to tangle.
Review Your System Regularly
Cable organization works best when it is easy to maintain. Once every few months, review your collection and remove cables that are damaged, obsolete, or no longer useful.
Return each cable to its assigned location after use. If a particular category keeps becoming messy, adjust the system. You may need a larger container, clearer labels, or a more convenient storage location.
The goal is not to create a perfect display. It is to make cables easy to identify, safe to use, and simple to put away. With a few labels, reusable ties, and dedicated storage areas, even a large cable collection can stay neat and manageable.
